In Class Presentation
Recommended Age: 4 years
Purpose: To show the child that by joining together different triangles, 4 sided figures are formed and to prepare the child for later work in geometry.
Level of Parent Involvement: Medium during the initial presentation then low once the child has been shown and can work independently. The adult must also make the materials prior to the presentation.
Prerequisites
- The child must have had experiences working with the geometry cabinet, specifically the child should have knowledge of the names of the shapes in the geometry cabinet (trapezium, rhombus, rectangle, square)
Materials
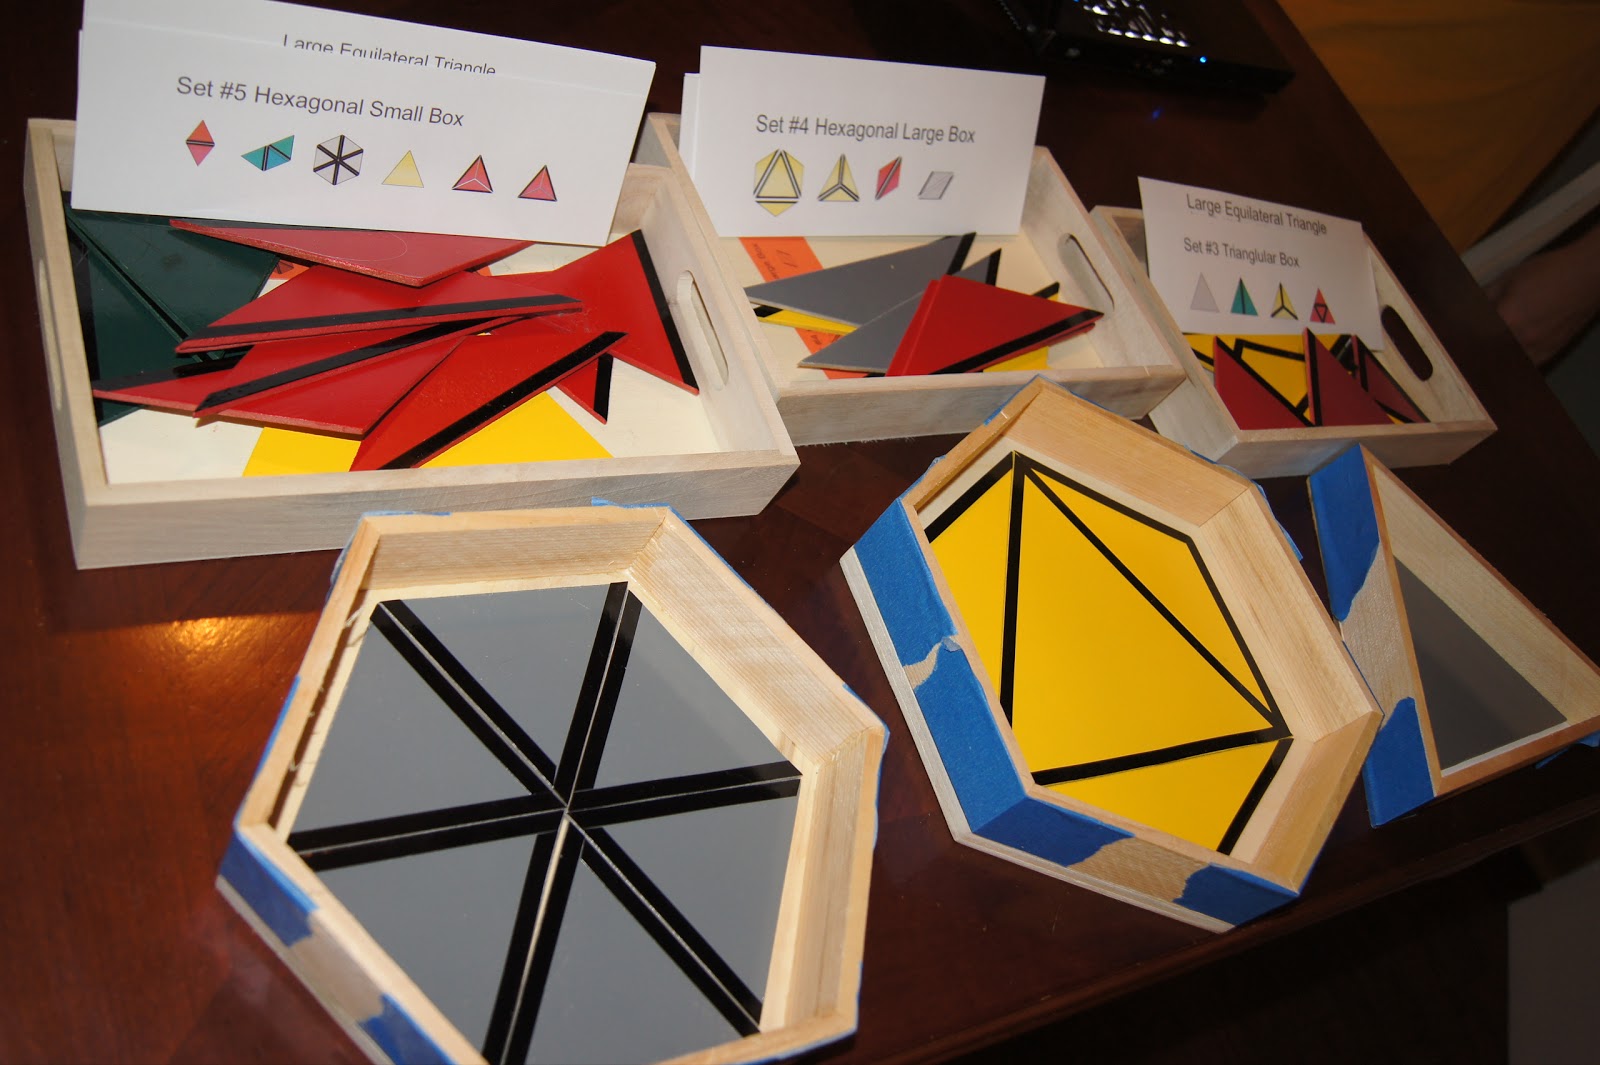
- Paper constructive triangles
- Scissors to cut the triangles out
- Laminator
- Laminating sheets
- A tray or basket to keep the triangles
Preparation
- Print out the constructive triangles template
- Cut out all triangles
- Laminate the triangles then cut from the laminating sheet
- Place the triangles on the tray/in the basket
Steps
- Invite the child, showing them the tray of constructive triangles
- Go with the chid to their table
- Take the 2 grey right angles scalene triangles and place on the mat
- Take the 2 yellow equilateral triangles and place on the mat
- Take the 2 green right angled isosceles triangles and place on the mat
- Ask the child to put the ones that are the same colour on top of each other
- Take the 2 green right angled isosceles triangles positioning them so the black lines on each triangle are facing, place one hand on each triangle, palms down and slide the triangles together so that the black lines on each triangle join
- Ask the child “what is this shape called”, the child should say “square”
- Move the square to the top left corner of the mat
- Repeat as above for the 2 yellow equilateral triangles and the 2 grey right angles scalene triangles (if the child is unsure of the names of the shapes you may name them)
- Mix all 3 shapes up and invite the child to have a turn
- Now take from the tray the 2 yellow right-angled scalene triangles and the 2 green right angled scalene triangles, the child may stack the same colours together
- Take the 2 yellow right-angled scalene triangles positioning them so the black lines on each triangle are facing
- Place one hand on each triangle palms down, slide together so the black lines join
- Ask the child “what is this called?” child should say parallelogram (name if child doesn’t answer)
- Slide to the top left corner of the mat under the first 3 shapes made
- Repeat as above for the 2 green right angled scalene triangles
- Mix all 5 shapes, invite the child to have a turn
- Take the remaining shapes from the tray (1 red right-angled scalene triangle, 1 red obtuse angled scalene triangle, 2 yellow right-angled scalene triangles)
- The child may put the same colours together, repeat as above
- Mix all 7 shapes, invite the child to have a turn, the child may continue working with the triangles for as long as they please
- Come back when the child has finished, the child may put the triangles back on the tray and return the tray to its place, let the child know they may work with this activity again on another day
Variations
- The child may like to trace around and label the triangles after the exercise