Recommended Age: 3 and ½ to 5 years
Level of Parent Involvement: High, the parent must help the child make the sandpaper globe, once the globe is dried the child may work with it independently
Prerequisites
- None
Materials
- A smooth surfaced ball (medium sized)
- Blue acrylic paint
- Paint pot
- A paint brush
- Smock
- PVA glue
- Fine sand (around 2 cups)
- A wide mouth cup to use as a stand for the globe
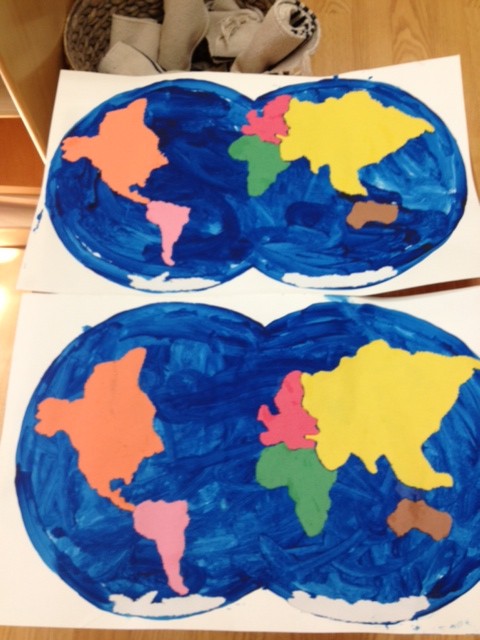
- Continent cards to use as a guide to make the shapes of the continents with glue
- Small bowl with warm water and a face washer or cloth (for sensitizing fingers)
Preparation
- Place the blue paint into a paint pot
Steps
- Invite the child, letting them know that they will be making their own sandpaper globe
- Bring the materials to the table
- Let the child know that for this activity they will need to put on their smock
- Show the child the ball, asking them if they know what shape it is (you may casually name ‘sphere’ for the child)
- Let the child know that they will be making a globe with the ball and the first thing they will need to do is paint the ball
- Place the ball on the cup so that it doesn’t move around
- Invite the child to paint the entire surface of the ball with the blue paint
- Let the child know that they will need to wait for the paint to dry before they can do the next step (transition the child to another exercise at this point so they are not waiting for the ball to dry without an activity to do)
- Once the ball is dry invite the child back to the table, let the child feel the ball to check it is dry
- Show the child the sand and the glue letting the child know that you will be putting some glue onto the ball and they can sprinkle sand onto the glue
- Take the continent cards and begin painting the shapes of the continents in their respective positions onto the ball with the glue and a brush, pausing after you paint each one to allow the child to sprinkle the sand onto the glue, ensuring the entire surface of the glue is covered with sand
- Let the child know that the glue must dry for the sand to stick (Transition the child to another activity whilst the glue is drying)
- Once the glue is dry and the sand is stuck to the ball, invite the child back to the table
- Let the child know they must sensitize their fingers
- Show the child how to dip their index and middle fingers into the bowl then wipe their fingers back and forth onto the cloth
- Stroke a sand part of the globe with your index and middle finger a few times
- Invite the child to have a turn
- Stroke again this time saying “this is rough”
- Now stroke a blue part of the globe and invite the child to feel
- Stroke again this time saying “this is smooth”
- Stroke the rough part again informing the child “we call the rough parts LAND”
- Invite the child to feel the land
- Stroke the smooth part again, informing the child “we call the blue parts water”
- Do a 3 period lesson on ‘land’ and ‘water’
- For example, part 2: point to land, show me some water, stroke some land, put your thumb on some water etc. Part 3, point to both land and water one at a time asking the child “what is this called”
- Child may continue feeling and naming the sandpaper globe for as long as they please
Variations
- You may make another globe with the child to replicate the painted globe. Instead of using sand the child may paint the continents onto the ball in their corresponding colours (see continent cards)